Bonsai How To – Cutting Down to Size
About a month after I joined the Durban Bonsai Society, about 150 years ago, we went on our first outdoor excursion to a nursery in the Natal midlands. After a few hours of wandering through endless rows of young plants in black bags I finally chose one plant that I thought would possibly grow into a presentable bonsai in a few decades. We had a bonsai expert from Johannesburg with us for the day. He casually wandered over to the group I was sitting with. He messed with my plant a bit, poked the soil and said something like “Nice tree”. Then he promptly took out his clippers and just chopped virtually everything off leaving a two-inch stump and one little shoot sticking up! I was horrified, but everybody just laughed. “That is how you make a bonsai.” He said. And he was right. A few years later my first bonsai purchase had turned into a lovely little miniature tree.
The point of the above story is that the area where the trunk meets the soil is the single most important feature of a bonsai. This region is called the Ne-bari in Japanese. The reason it is so important is that branches and foliage can be regrown every season, but the nebari is for keeps. The nebari should always be the thickest part of the trunk, and the trunk should become narrower towards the top of the tree. This is called taper. There are techniques than can make a nebari grow thicker over time, but they can not correct reverse taper, where the nebari is narrower than the trunk above it. If the trunk has good taper one can make the rest of the tree do all sorts of weird things given enough time. A tree with reverse taper will never become a good bonsai.
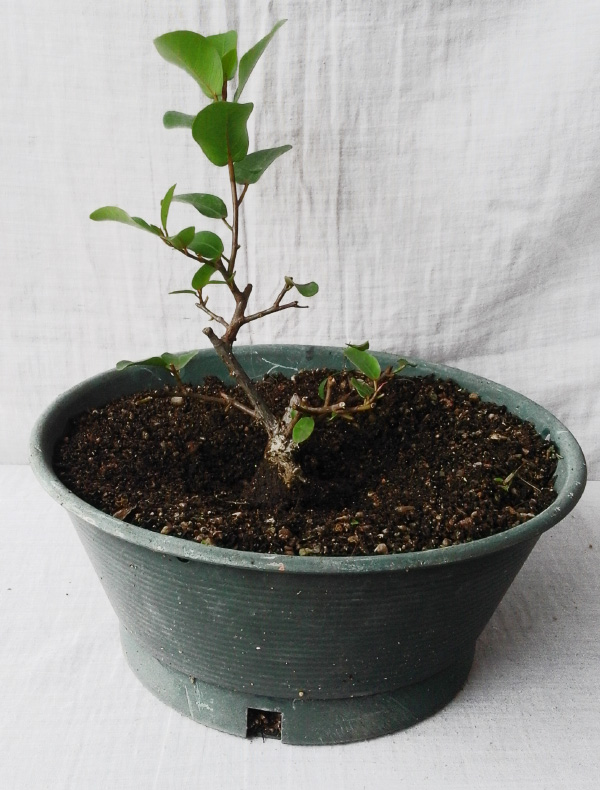
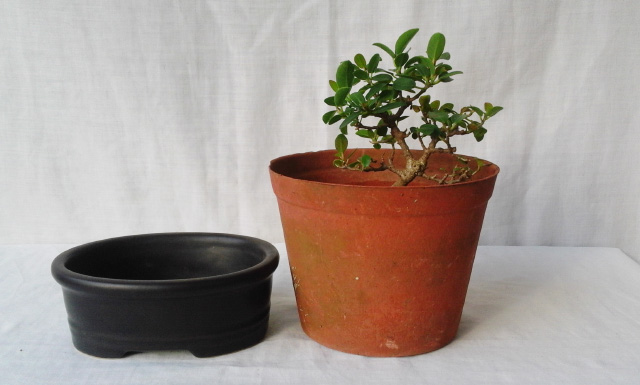
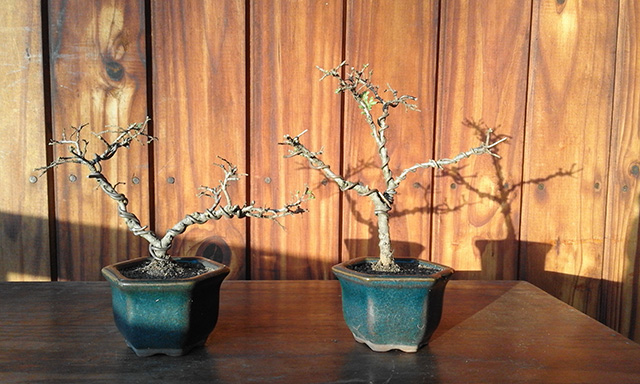
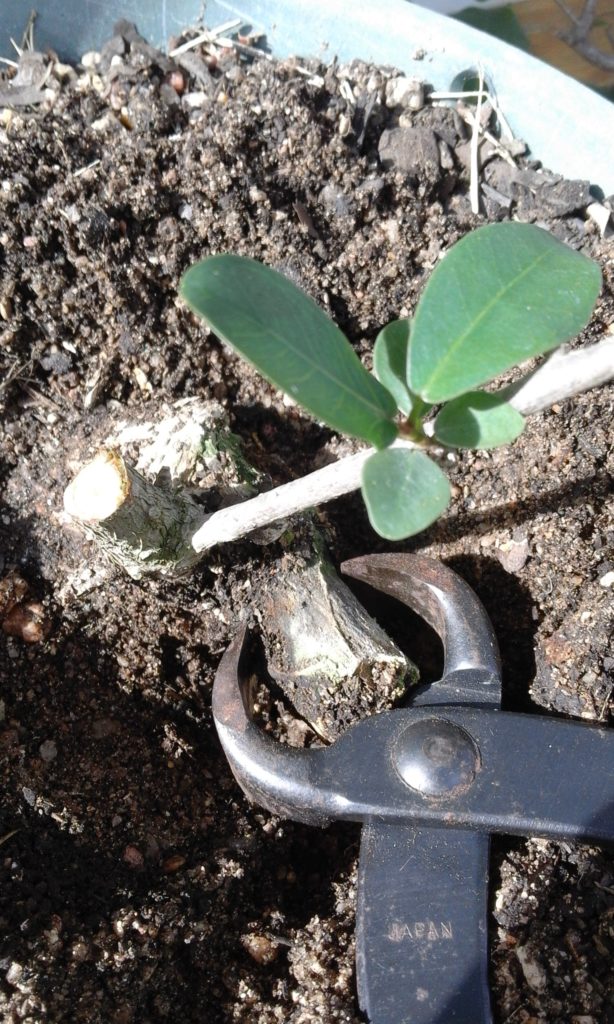
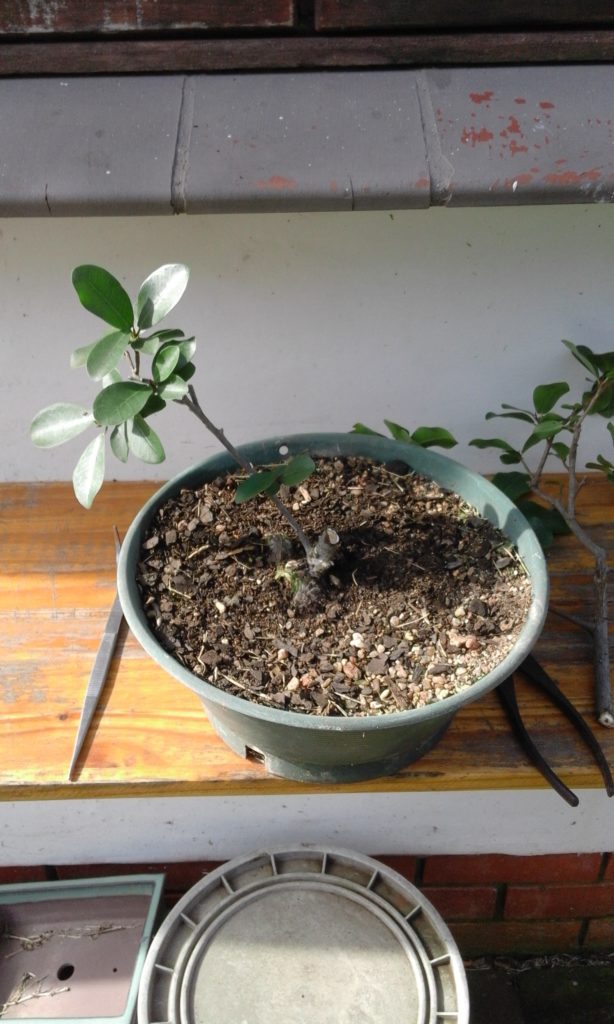
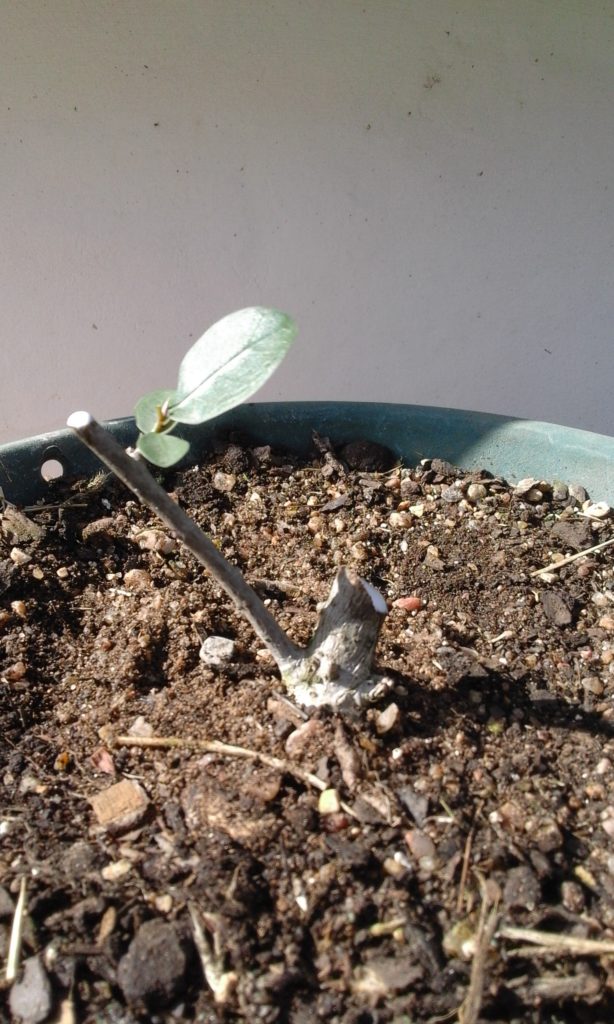
The images below show the very simple process of cutting a tree down to size. The original tree is healthy and has a good root system, however, in its current state would not make a good bonsai because the trunk is too straight, and thin. I removed most of the main trunk and most of the side branch leaving just one little new trunk, and one shoot that is emerging from it at a good angle. I then removed an old stump at the base, sealed the cuts with white wood glue, and that is it, job finished. The one remaining shoot will grow rapidly, and I must keep an eye on it. In a month or so I will remove the tip of the shoot which will encourage new small side branches and hopefully a small canopy. Note how I left quite a long stump on one side which is the remaining bit of the old trunk. This stump will shrivel up and die over the space of a few months, and will be removed in a year or so. Leaving a stump is a very good habit to get into. If the cut is made too close to the point where the next shoot or branch emerges (the node) the shrivelling can extend back into the main plant and very quickly kill the plant. This is called die-back, and many species suffer from it. So, always leave a stump which can be removed later.
In the space of about five minutes I have compressed a tree that was a foot and a half in height to one of just a couple of inches, but one that has a much better future as a really small bonsai. Time and mother nature will do the rest.
Till next time, keep growing. – Gary
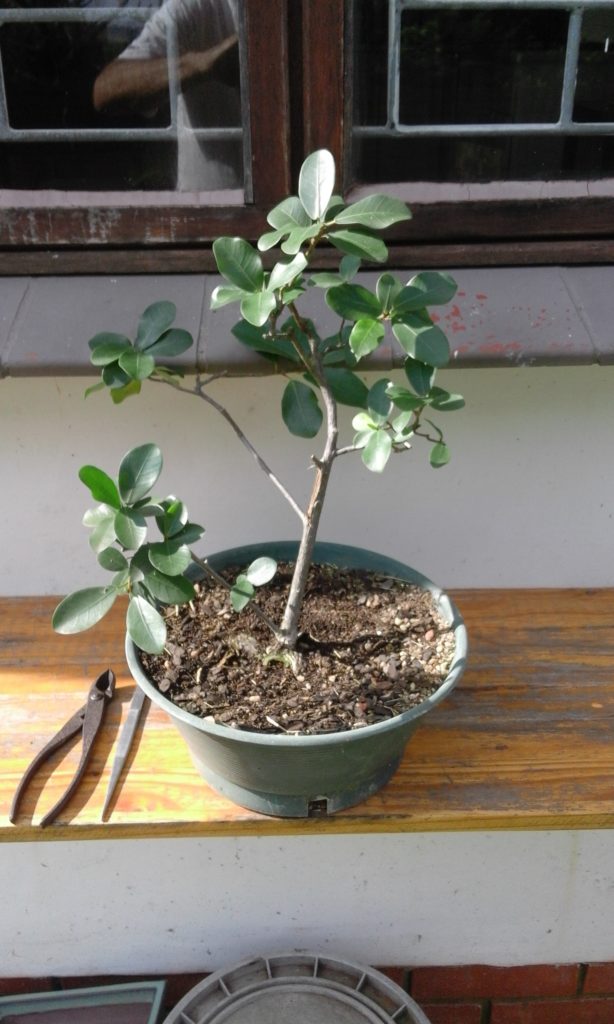
7 months later
This is a short update regarding this long-term project. The base of the trunk is beginning to swell quite noticeably. Nice! In addition, four or five prominent shoots have developed, giving me some options for styling later on. In the space of less than a year this tree has changed from being one tall stick in a pot to a short compact little tree with lots of movement and probably a really good future as a bonsai.
