Re-potting Bonsai
Re-potting bonsai should be a quick process.
Re-potting bonsai trees is normally a very quick process. The less time the roots spend out of soil the better. Most of the effort in re-potting bonsai is in the preparation. Good soil is one of the fundamentals of growing healthy bonsai. Bonsai soil, and all potting soil in fact, should drain quickly. In other words, it should be porous with fairly large grains of stony material.
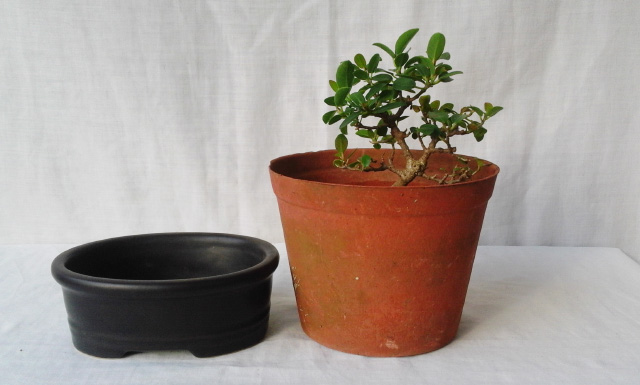
Prepare the pot.
Well, this is quite a simple process of covering the drainage hole/s with gauze of some sort to prevent the soil from running out. One can get “specially” made plastic mesh for re-potting bonsai from gardening suppliers. I often use mosquito netting for this purpose. Simply cut a shape to fit the bottom of the pot and add the soil on top.
Add soil.
Best practice is to put a thin layer of coarse river sand down first. This assists with drainage. If one’s soil is the correct consistency then it is probably not necessary, but it helps. Then fill the pot with soil up to the point where the roots will sit.
Place the re-potted elm tree.
Position the tree in the pot and then add the rest of the soil. Try as best as one can to push soil into the gaps between and under the roots. For larger trees an implement like a chopstick is an ideal tool for this job. It has no sharp points or edges that may damage the roots, and it has a blunt end that pushes the soil around efficiently. The idea is to eliminate all the air gaps. Air gaps make it harder for the plant to anchor itself. In addition, air gaps are places for insects to build nests. Not good. Press the top layer of the soil down gently, but not too firmly. Avoid pushing the soil down too firmly because you will squash out all the air from between the soil particles.
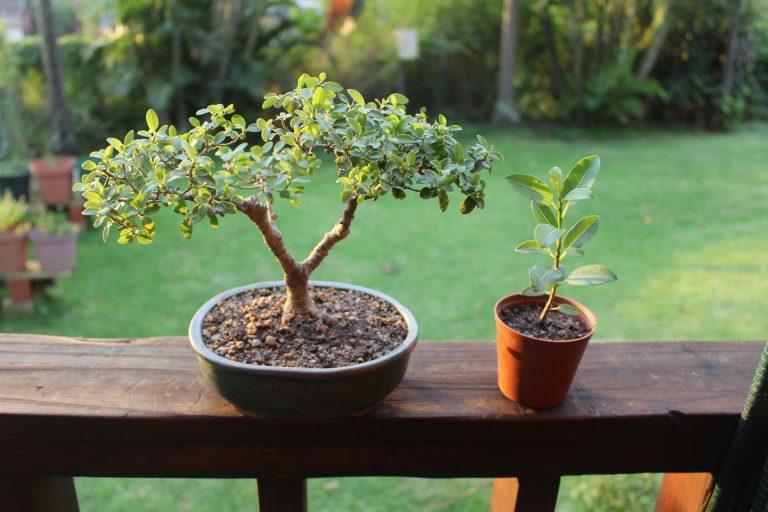
Positioning is important when re-potting bonsai.
The positioning and attitude of a tree in a pot is important from a compositional point of view. Move the tree around in the pot to find the position it looks best in before adding the final soil. There is no “one best place” for a tree in a pot. There are many variables to be considered, shape of pot and tree, width of the root ball etc. However, there are a couple of guidelines regarding things to avoid. Don’t position a tree in the exact centre of a pot. A tree planted in the exact center lacks visual movement. If possible, place a tree towards the back of the pot so that there is more “real estate” in front of the tree than at the back. This helps create the feeling of depth to the composition.
Water the plant and place it in shade.
Water the newly re-potted plant. This is done best with a mister because a powerful flow of water as from a garden hose will just wash away all the nice new soil. Place the tree in a shady place for at least two weeks, at which point one should see new shoots forming. One can then place the tree in full sun.
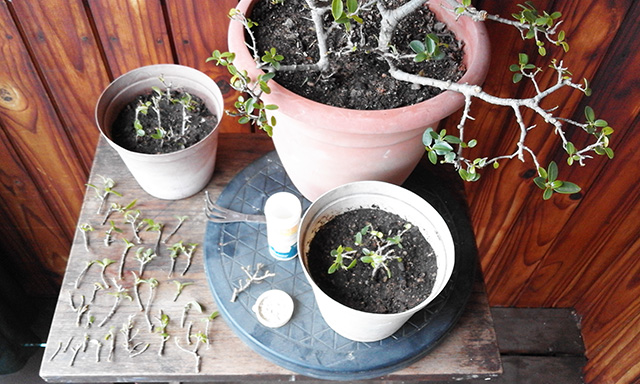
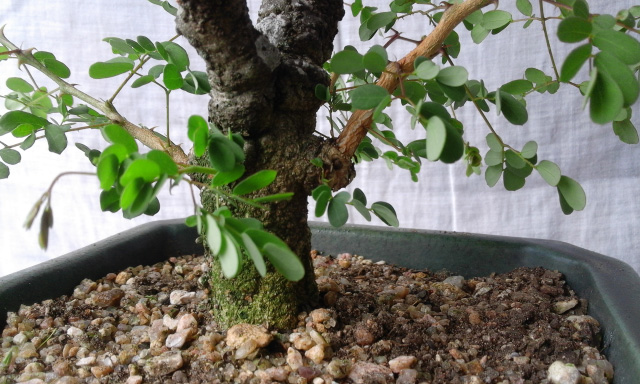
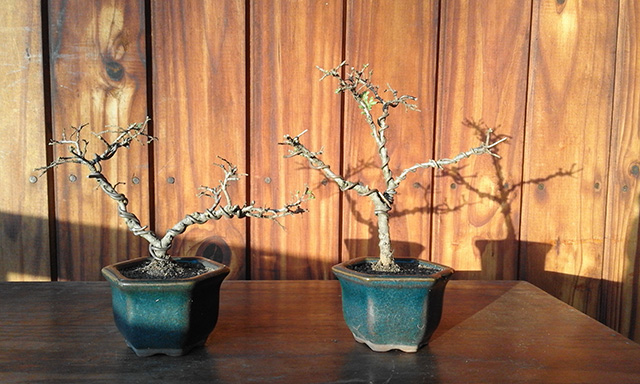
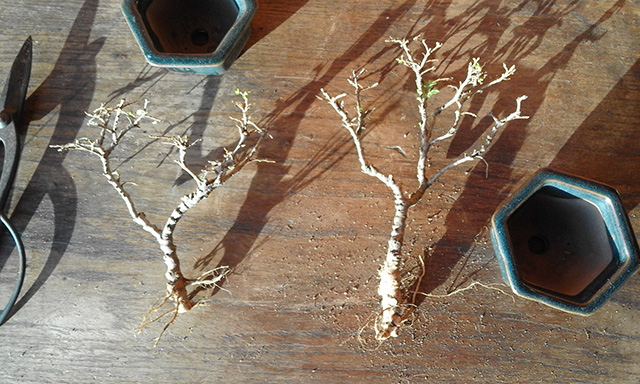
Re-potting twin elm trees.
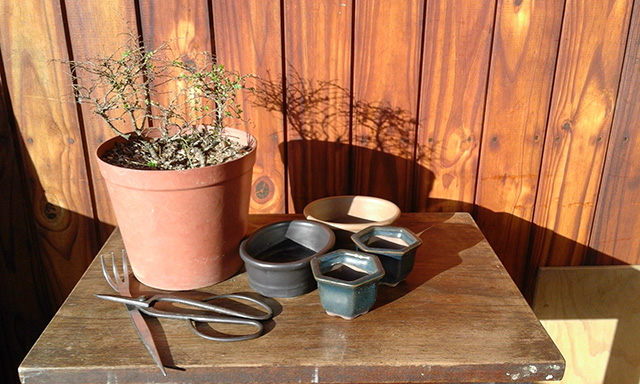
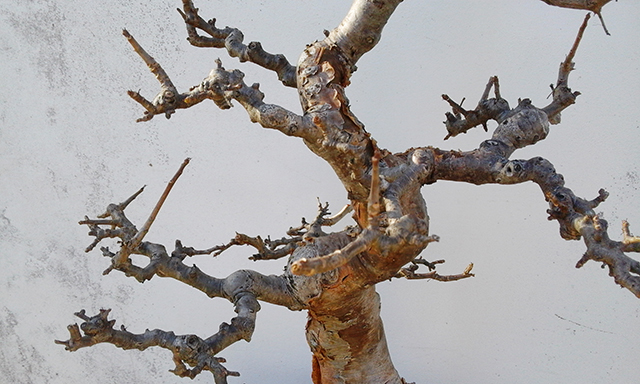
These photos show the step-by-step process of re-potting twin elm trees. These trees have been growing in a standard plastic pot for about seven years. They should have been re-potted a few years ago. At this point I don’t really know what their roots look like so I have an option of two types of pots, the oval ones if the roots are well developed, and the hexagonal taller ones if the roots are not very well developed. The roots might need the deeper soil of the hexagonal pots to enable the trees to stand upright.
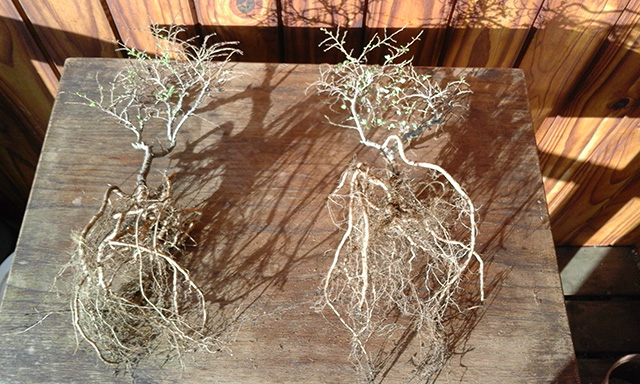

I have also dipped the roots and base of the trees in a rooting hormone. The rooting hormone encourages the plant to develop new roots. It comes in a white powder form and is available at most garden suppliers. The one I use is called Seradix B N0.2. I don’t always use rooting hormone when I re-pot, but decided to use it this time because I removed so many roots.
For additional inspiration have a look at Bill Valavanis’s bonsai blog.